
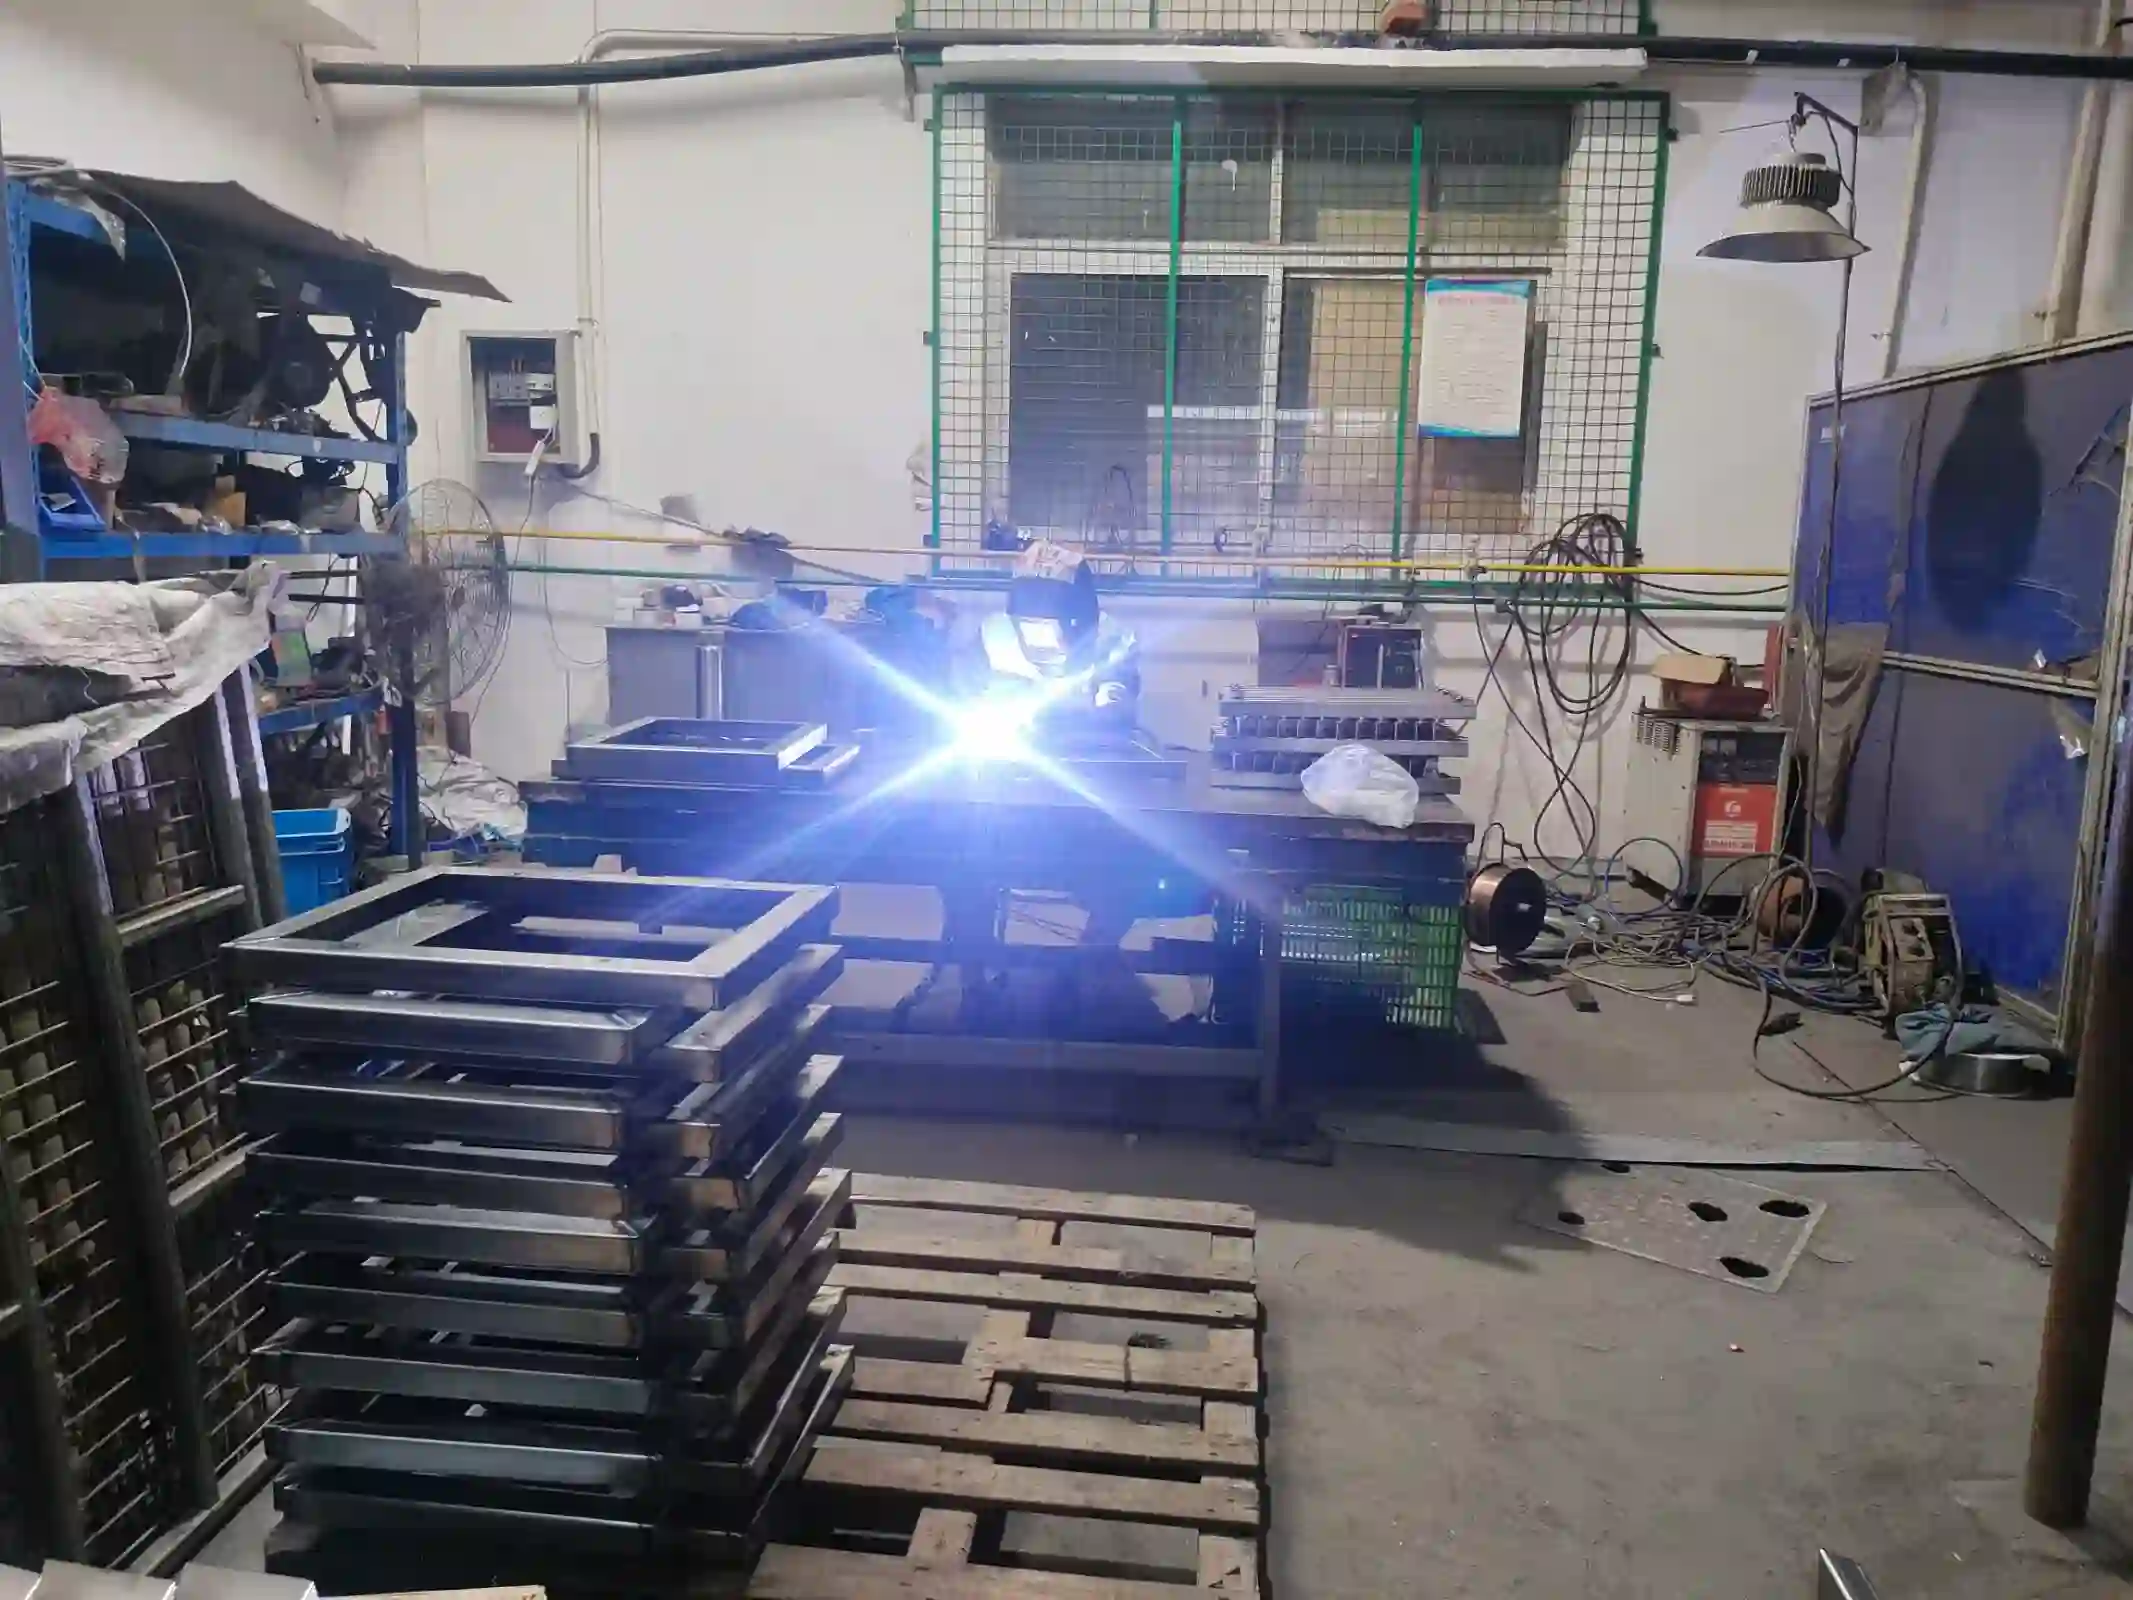
At Fulei Metal, we run both spot welding and TIG welding every day — spot welding on our semi-automated line for enclosure seams and battery trays, and TIG on precise, visible joints. Customers sometimes assume TIG is always the “better” process. It isn’t. Each process solves a different problem. Here’s how we decide which one to use on a given project.
How spot welding works
Spot welding is resistance welding — two copper alloy electrodes press the sheets together and pass a high current (typically 5,000–20,000 A) through the joint for 0.1–0.5 seconds. The resistance at the interface generates heat (I²R, per Joule’s law), melting a small volume of metal that solidifies into a weld nugget when the current stops. No filler metal, no shielding gas. The entire cycle — squeeze, weld, hold, release — takes under 2 seconds.
The physics matters: because the electrodes also conduct heat away from the weld zone, spot welding creates an extremely narrow heat-affected zone. On 1.2 mm cold-rolled steel, our HAZ is typically 1–2 mm wide. Compare that to TIG, where even a fast pass leaves a 4–6 mm HAZ width on the same material.
How TIG welding works
TIG (GTAW, Gas Tungsten Arc Welding) uses a non-consumable tungsten electrode to create an arc between the torch and the workpiece. The arc melts the base metal — and filler rod if used — under a shield of inert gas, typically argon. The operator controls heat input, arc length, filler addition, and travel speed independently. This gives TIG its advantage in precision, but also makes it a slower, higher-skill process.
| Factor | Spot Welding (RSW) | TIG Welding (GTAW) |
|---|---|---|
| Cycle time (per weld/100 mm) | 0.5–2.0 sec per spot | 40–80 sec |
| Filler metal required | None | Often required |
| Shielding gas | None | Argon, 8–15 L/min |
| HAZ width (1.5 mm CRS) | 1–2 mm | 4–6 mm |
| Distortion risk | Low | Moderate to high on thin sheet |
| Joint type | Lap joint only | Lap, butt, corner, edge, T-joint |
| Material thickness range | 0.5–3.0 mm per sheet (total stack ≤6 mm) | 0.5 mm to 12 mm+ |
| Operator skill required | Low (machine-set parameters) | High (manual torch control) |
| Visual inspection method | Nugget peel test, cross-section | Visual bead inspection, dye penetrant |
| Operator cost (Ningbo, 2026) | ¥25–35/hr | ¥50–70/hr |
| Unit cost per weld (typical) | ¥0.02–0.08 per spot | ¥3–8 per 100 mm seam |
When spot welding wins — and why
Spot welding has three killer advantages in production: speed, low cost per joint, and minimal distortion. On our semi-automated spot welding line, we can place 30–40 spot welds per minute per station. For a typical enclosure with 12 seam spots, that’s under 20 seconds of welding time.
The right applications for spot welding:
- Enclosure seams and flanges: When two sheet metal panels overlap along a flange, spot welding is the fastest way to join them. We spot-weld about 400 electrical enclosure seams per day.
- Automotive brackets: Brackets that lap onto a larger structural panel. One of our US customers runs a spot-welded bracket assembly that replaced a MIG-welded design — the switch to spot welding cut joining cost by 60% and eliminated post-weld grinding.
- Battery trays and housings: Thin-gauge CRS trays (0.8–1.5 mm) with lap joints around the perimeter. The low heat input means the tray stays flat — no distortion correction needed after welding.
- High-volume, repeatable production: Once you set the current, squeeze time, and electrode pressure, every spot weld is identical. For runs of 500+ identical parts, spot welding is unmatched for consistency.
When TIG is the better choice
TIG’s strength is flexibility. It can join almost any joint configuration, in almost any position, on a wider range of materials and thicknesses. The applications where TIG pulls ahead:
- Butt joints and corner joints: Spot welding physically cannot weld a butt joint — the electrodes need to squeeze two layers together. For a single-seam junction on an edge or corner, TIG is the only option between these two.
- Visible/cosmetic welds: A TIG bead can be beautiful — consistent width, smooth ripple pattern, no spatter. When the weld is visible in the finished product (medical device housings, architectural panels, food equipment), the extra time and cost of TIG pays for itself in perceived quality.
- Thicker materials: Spot welding tops out around 3 mm per sheet (roughly 6 mm total stack for two-sheet joints). TIG handles material from foil-thin up to 12 mm or more with multiple passes.
- Stainless steel and aluminum: While spot welding can join stainless and aluminum (with higher current and shorter weld time), the weld quality is harder to control. TIG gives us predictable, code-quality welds on 304/316 stainless and 5052/6061 aluminum.
- Edge joints on thin sheet: When two sheet edges meet at 90°, spot welding can’t access the joint. TIG handles this cleanly with a fillet weld.
Quality control: nugget inspection vs weld bead inspection
The quality control approach for each process is fundamentally different, and this matters for production planning.
For spot welding, you can’t see the weld from the outside — the weld is between the sheets. Quality control relies on destructive testing: peel tests where we twist the top sheet off the bottom and measure the nugget diameter. Per AWS D8.9, the minimum acceptable nugget diameter for our typical 1.5 mm CRS is 4 mm (roughly 4√t, where t is sheet thickness in mm). We do one destructive test per shift per electrode set, plus in-process monitoring of current and electrode force.
For TIG welding, we visually inspect every weld bead for undercut, porosity, lack of fusion, and bead profile. For code-class work, we add dye penetrant inspection per ASME Section V. The inspection is faster and cheaper than spot weld testing, but it’s entirely dependent on an experienced inspector who knows what to look for.
The practical implication: if your design allows lap joints and your volumes justify the electrode setup cost, spot welding is faster, cheaper, and easier to automate. If your design requires corner, butt, or edge joints — or if the weld is visible — TIG is the right call.
Cost comparison: a real example from our factory
Let’s look at a real part we manufacture: a 1.2 mm CRS electrical enclosure, 400 × 300 × 150 mm, with 12 seams around the box corners overlapping 10 mm flanges.
- Spot welding: 3 spot welds per seam × 12 seams = 36 spots. At 1.5 sec per spot (including part positioning), total welding time is 54 seconds. No consumables. Total welding cost: approximately ¥3.50 per box.
- TIG welding: 12 seams at 80 mm each = 960 mm of weld. At 150 mm/min travel speed, that’s 6.4 minutes of arc time, plus 2 minutes of setup and repositioning. Argon consumption: ~130 L. Filler rod: ~3 m of ER70S-6. Total welding cost: approximately ¥38 per box.
Spot welding is literally 10× cheaper for this application — and the box is flatter because there’s less heat input. But if the same box had visible seams that customers would see, the TIG result would be visibly superior and worth the cost.
The bottom line: both processes belong in a well-equipped sheet metal factory. At Fulei Metal, we run 4 spot welding stations alongside 6 TIG stations because different products need different solutions. If you’re designing a sheet metal part and want to know which process makes sense, send us your drawing and we’ll tell you how we’d weld it — and why.
Need Help Choosing the Right Welding Process?
Send us your drawing and volume requirements. We’ll recommend the optimal process — spot, TIG, MIG, or laser — and quote within 24 hours with process rationale.