
Material is typically 40–60% of the total cost of a laser-cut sheet metal part. So when a customer asks us how to reduce unit cost, nesting is the first place we look. Good nesting can cut material waste by 15% or more — and on a high-volume part, that’s real money. At Fulei Metal, we’ve optimized nesting on thousands of jobs, and this guide shares what we’ve learned.
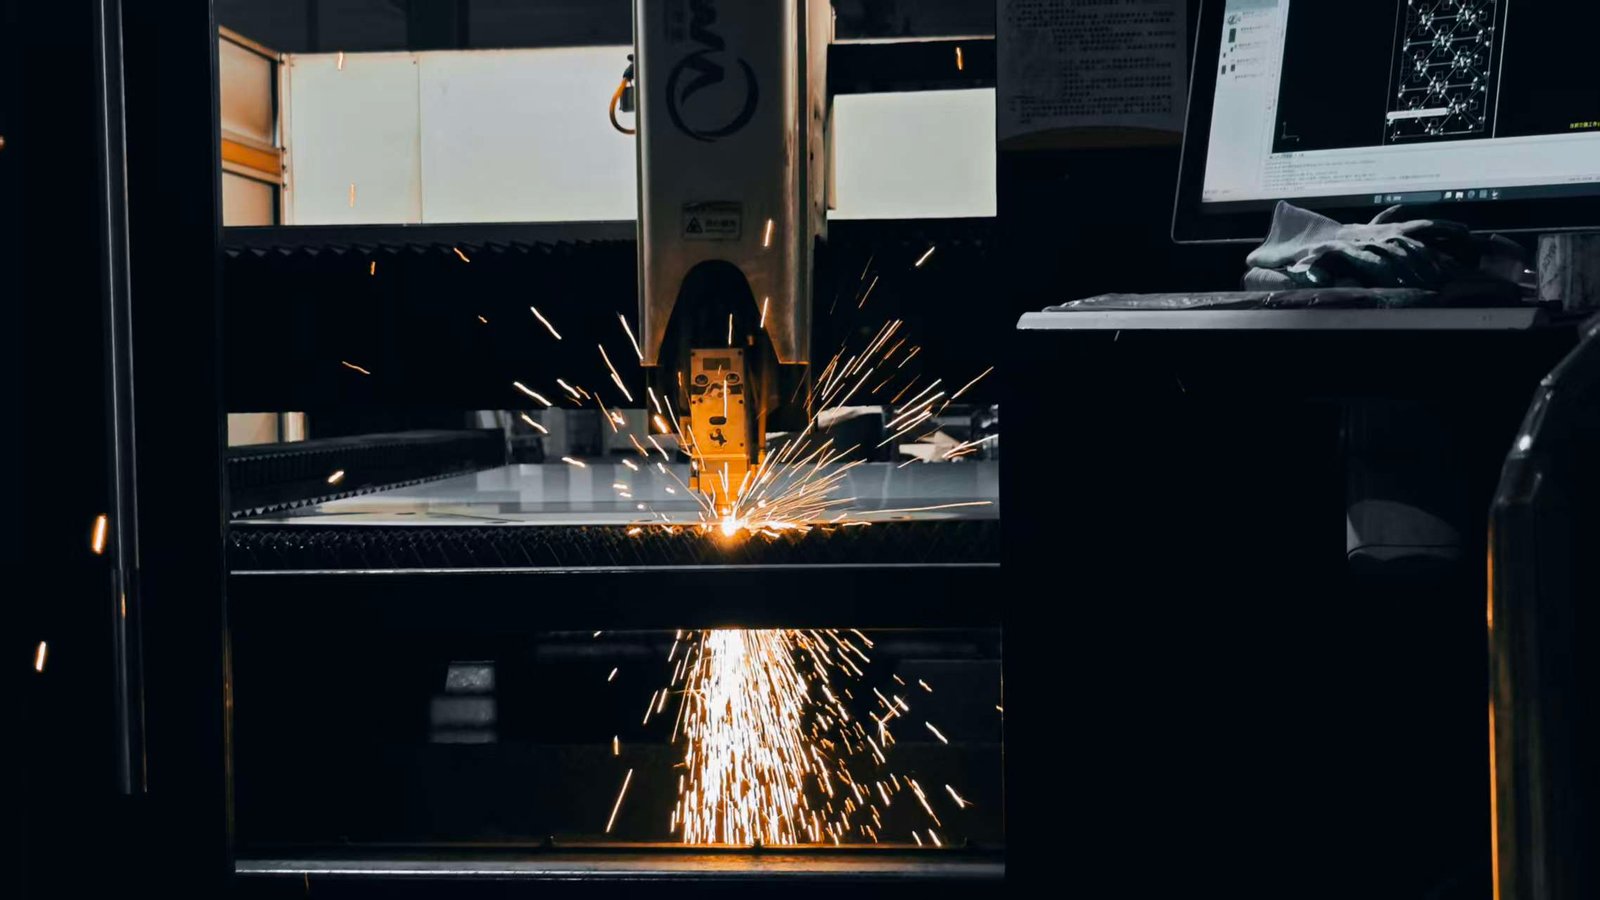
What is nesting and why it matters
Nesting is the process of arranging part outlines on a sheet to maximize material utilization. Think of it like a jigsaw puzzle — you’re fitting irregular shapes onto a rectangular sheet with as little wasted space as possible. The difference between a poor nest and an optimized nest can be 20–30% of the sheet area, which translates directly to material cost.
For context, a standard 4×8 foot (1220×2440 mm) sheet of 2 mm cold-rolled steel costs about $35–45 USD at current prices. If you’re running 1,000 sheets a month for a product line, a 15% nesting improvement saves roughly $5,000–7,000 per month — or $60,000–84,000 per year. That’s not marginal. It’s often the difference between a competitive quote and one that loses the order.
Material utilization: how we measure it
We track utilization as: (total part area ÷ sheet area) × 100%. For example, if the parts on a 1220×2440 mm sheet (2.97 m²) have a total area of 2.23 m², the utilization is 75%. The remaining 25% is skeleton (scrap). Here’s what we typically see:
| Nesting Quality | Utilization | When It Happens |
|---|---|---|
| Poor (manual, no optimization) | 55–65% | Operator places parts one by one without software |
| Standard (software nesting, default settings) | 65–75% | Auto-nest in CAM software, no manual tweaking |
| Good (software + manual optimization) | 75–82% | Auto-nest followed by operator adjustments |
| Excellent (optimized + common-line + DFM) | 82–90% | Parts designed for nesting, common-line cutting used |
The jump from 65% to 82% utilization is a 26% reduction in material waste. That’s where the 15% material cost savings target comes from — it’s achievable on most jobs with the right approach.
Common nesting strategies
Common-line cutting
When two parts share a common edge, you can cut that edge once instead of twice. This saves cutting time and — more importantly — eliminates the kerf gap between parts, letting them sit edge-to-edge on the sheet. On rectangular parts with straight edges, common-line cutting can boost utilization by 8–12%.
The catch: common-line cutting requires the shared edge to be identical on both parts, and the cut path must be programmed so the laser travels the shared line only once. If the parts have slightly different edge lengths or the programmer doesn’t account for kerf compensation, the parts won’t meet spec. We use common-line cutting on our library furniture panels where adjacent rectangles share long straight edges.
Chain cutting (fly cutting)
In chain cutting, the laser cuts a series of similar parts in a continuous path without lifting the cutting head between parts. Instead of a separate lead-in and lead-out for each part, the laser moves directly from one part’s cut path to the next through a narrow bridge of material. This dramatically reduces cutting time — often by 30–40% on high-volume small parts — and also saves a small amount of material by eliminating individual lead-ins.
Chain cutting works best for arrays of identical parts — think brackets, washers, or small panels. The limitation is that the bridge between parts must be wide enough to prevent heat distortion from affecting the adjacent part, typically 0.5–1.0 mm depending on material and thickness.
Island cutting and remnant utilization
When a large part has an interior cutout (an “island”), the cutout material is normally scrap. But if you can nest a smaller part inside that cutout, you recover material that would otherwise be wasted. For example, our livestock equipment panels have large rectangular cutouts for access holes — we nest smaller brackets inside those cutouts, recovering material worth about 6% of the sheet.
This requires planning at the nesting stage — the software needs to know what small parts are in the queue and try to fit them inside larger parts’ islands. Modern nesting software does this automatically; older or cheaper software may not.
How lead-in and lead-out affect material usage
Every cut path starts with a lead-in — a short segment from the pierce point to the part outline — and ends with a lead-out, which exits the cut path to prevent a visible divot at the start/end point. These lead-ins and lead-outs consume material and cutting time.
Typical lead-in lengths are 2–5 mm for thin sheet and 5–10 mm for thick plate. On a part with 20 cut features, that’s 40–200 mm of non-productive cutting per part. Multiply by 50 parts per sheet and you’ve got 2–10 meters of wasted cutting — plus the material consumed by those lead-in kerfs.
Optimization strategies:
- Minimize lead-in length — use the shortest lead-in that produces a clean start. On thin sheet (≤2 mm), 2 mm is usually sufficient. On thick plate, you need longer lead-ins to allow the pierce to fully penetrate before the cut begins.
- Place lead-ins in scrap areas — orient parts so lead-ins point into the skeleton, not into adjacent parts. This lets you reduce the spacing between parts.
- Use micro-joints — instead of cutting parts completely free, leave small tabs (0.2–0.5 mm) that hold the part in the skeleton during cutting. This eliminates the need for lead-outs on internal features and speeds up cut time. Parts are broken free manually after cutting.
- Share lead-ins — for common-line cuts, a single lead-in can serve two parts that share an edge.
Software tools for nesting
The nesting software you use matters as much as the strategy. At Fulei Metal, we use CypCut (standard with most Chinese fiber lasers) for day-to-day nesting and Radan for complex multi-part jobs. Here’s how they compare:
| Software | Typical Utilization | Strengths | Weaknesses |
|---|---|---|---|
| CypCut (free with machine) | 68–75% | Fast, integrated with machine control, easy to learn | Basic nesting algorithm, limited common-line support |
| Radan | 78–85% | Advanced auto-nesting, excellent common-line and chain cutting | Expensive license, steeper learning curve |
| OptiNest / LIBRENEST | 75–82% | True-shape nesting, good for irregular parts | Requires separate post-processor for machine code |
| Manual nesting (CAD) | 60–72% | Full control, good for prototypes | Time-consuming, inconsistent results |
The software gives you the floor. The operator’s judgment — rotating parts, grouping similar shapes, deciding when to break auto-nest rules — gets you to the ceiling. A skilled operator can squeeze 3–5% more utilization out of any software by reviewing the auto-nest result and making manual tweaks.
Real-world example: before and after
Here’s a job we ran last quarter — a set of brackets for an industrial equipment customer. The parts were L-shaped brackets in 3 mm mild steel, 4 variants, 200 pieces total per batch.
| Metric | Before (default CypCut nest) | After (manual + common-line) |
|---|---|---|
| Sheet utilization | 68% | 84% |
| Sheets needed (200 pcs) | 7 | 5 |
| Material cost per batch | $280 | $200 |
| Cutting time per batch | 4.2 hours | 3.1 hours |
| Total cost per batch | $420 | $310 |
| Savings per batch | — | 26% |
The optimization took our programmer about 30 minutes. On a recurring monthly order, that 30 minutes of engineering time saves $110 per batch — $1,320 per year on this one part number. Multiply that across a catalog of 50+ part numbers and nesting optimization pays for the software license many times over.
Tips for designers: make your parts nest-friendly
As a designer, you have more influence on material utilization than you might think. Parts designed without nesting in mind can never be nested efficiently, no matter how good the software. Here’s what helps:
- Use symmetry. Symmetrical parts can be rotated and flipped to fill gaps. An asymmetric part with a long curve on one side creates wasted space that can’t be filled. If the function allows, make parts bilaterally symmetric.
- Standardize part sizes. If you have a family of brackets, design them to share common dimensions (same width, same hole pattern). This lets the nesting software group them efficiently and enables common-line cutting.
- Avoid extreme aspect ratios. Very long, narrow parts (e.g., 1200×30 mm) are hard to nest because they leave long strips of waste on either side. If possible, break long parts into shorter segments that can be welded, or design them to nest alongside complementary parts.
- Design cutouts to fit other parts. If a large panel has a cutout, see if the cutout size can be standardized to match a smaller part in the same product. This enables island nesting.
- Minimize unique part variants per sheet. Nesting software works best when it has multiples of the same part to arrange. If you have 20 variants of a part at 5 pieces each, nesting efficiency will be lower than 5 variants at 20 pieces each. Consider standardizing.
- Use standard sheet sizes. Design parts to fit efficiently on standard sheets (1220×2440 mm, 1500×3000 mm). If your parts are slightly too large for a standard sheet, you’ll jump to the next sheet size and waste 30% of the larger sheet. A 5 mm dimensional change can save an entire sheet size step.
- Consider grain direction trade-offs. Sometimes nesting parts at 90° to each other improves utilization but puts a bend line perpendicular to grain. Flag this for the shop — they can rotate the nest if the material can handle it, or suggest a material change.
At Fulei Metal, we review every new part for nest-friendliness during our DFM (Design for Manufacturing) process. If we see an opportunity to save material with a small design change, we’ll suggest it before production. Send us your drawings and we’ll show you the nesting layout and material utilization before we cut — so you know exactly what you’re paying for.
Want to Cut Your Material Cost?
Send us your drawings and we’ll show you the nesting layout with utilization percentage — before you commit to production. Free nesting analysis for serious projects.